
This post may contain affiliate links. If you click and make a purchase, I may receive a small commission, at no extra cost to you. I only recommend products and services I use and love. Thanks for supporting The Little Frugal House!
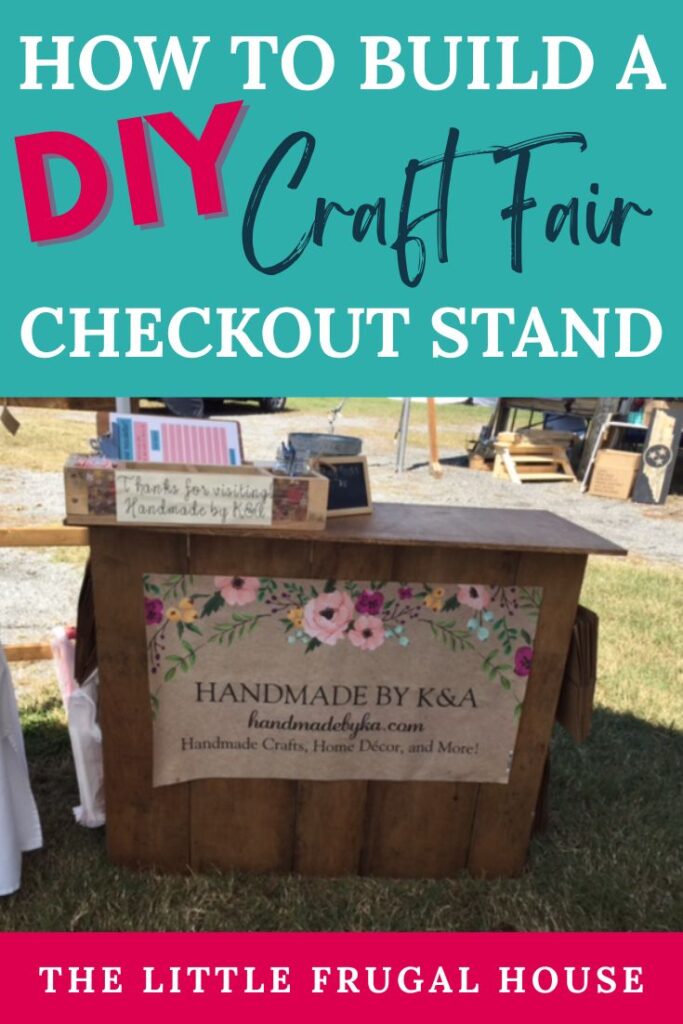
If you sell handmade items at craft fairs, having a dedicated checkout area in your booth can make a big difference. It keeps your supplies organized, gives you a place to wrap purchases, and makes your booth look more professional.
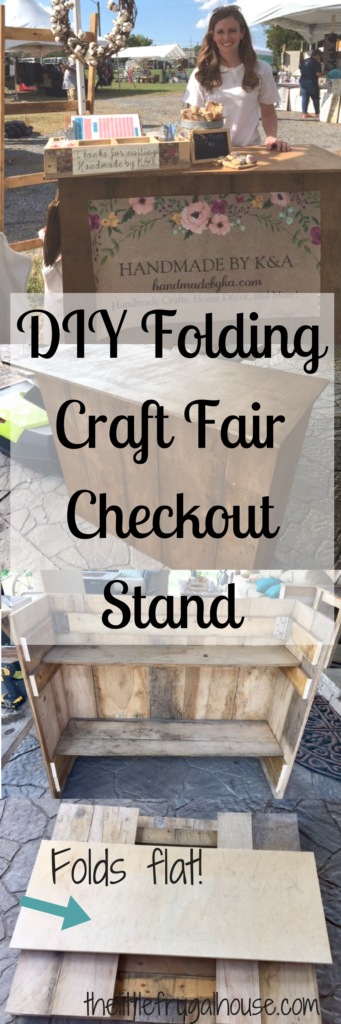
In this tutorial, I’ll show you how we built a DIY folding craft fair checkout stand using scrap wood and materials we already had at home. This simple checkout counter folds flat for easy storage and travel, which is perfect if you’re packing everything into a small car like we are.
If you’re looking for craft fair booth display ideas or ways to improve your vendor setup, this DIY checkout stand is an easy project you can build in an afternoon.
This DIY craft fair checkout stand is one of my favorite craft fair booth display ideas because it helps keep everything organized while giving you a dedicated place to wrap purchases and take payments.
Check out the best 31 crafts to sell at craft fairs here!
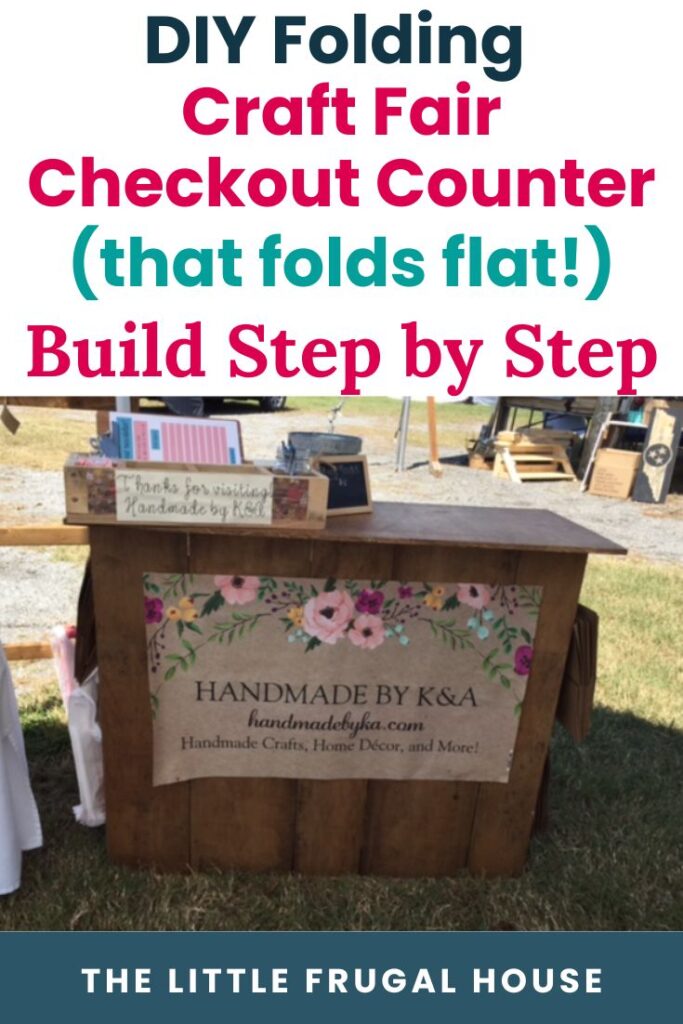
Why a Checkout Stand Is Helpful at Craft Fairs
At busy craft fairs, your booth can quickly fill up with customers. Having a small checkout stand gives you a dedicated space to ring up purchases, wrap items, and keep supplies organized. It also makes your booth look more professional and easier for customers to navigate.
If you’ve ever hauled crates, tables, and wrapping supplies to a craft fair and wished for one sleek counter that did it all—this is your project. For busy makers and booth-vendors, having a checkout stand that travels, sets up quickly, and folds flat can make a world of difference.

In this guide you’ll find:
- A full materials list using affordable lumber and hardware
- Step-by-step instructions to build a compact, functional checkout counter
- Tips for storage, transport, and folding to save space in your car
- Design tweaks to match your booth aesthetic or branding
Whether you’re a part-time hobby seller or a full-time craft business, upgrading your checkout station can elevate your entire display—and make packing up less stressful. Let’s get building!
Do you want to build your own craft fair checkout stand? In this post, I’m sharing how we built our DIY checkout stand that folds up for craft shows!
When I’m not busy working, blogging, chasing the dogs around, or doing chores around the house, I am more than likely working on a craft project or building inventory for our little craft business.
Me and my mom have been doing craft shows together for almost 2 years! I love being able to use my creativity to make some side money.
I’m always looking for ways to make our booth look better and more professional. One thing we were lacking was a good place to ring up purchases and wrap packages (and get out of the way honestly!). I have seen a few booths with really awesome checkout stands and it’s been on my wish list for a few months now.
Only problem is I have a small SUV to pack everything in, and a large checkout stand just would not fit. I had an idea to build a checkout stand that could fold up flat and fit into my car easily and was determined to make it happen before our busy fall season.
I wanted to build this checkout stand with only scrap wood and materials we already had on hand, aka – spend $0 on it!
It turned out exactly how I pictured in my head! That rarely happens, so I was delighted with my creation. 🙂 I can’t wait to set this up at our craft shows this fall!
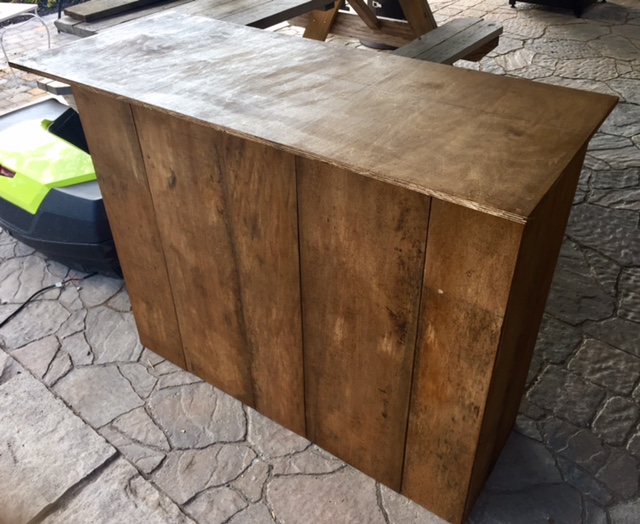
Here’s how I built this folding checkout stand!
If you’re thinking about starting a craft business, check out these 80 craft ideas to make and sell!
DIY Folding Craft Fair Checkout Stand
Materials Needed:
Thin scrap wood – 4.5′ x 3′ in total for the front and 12″ total for each side
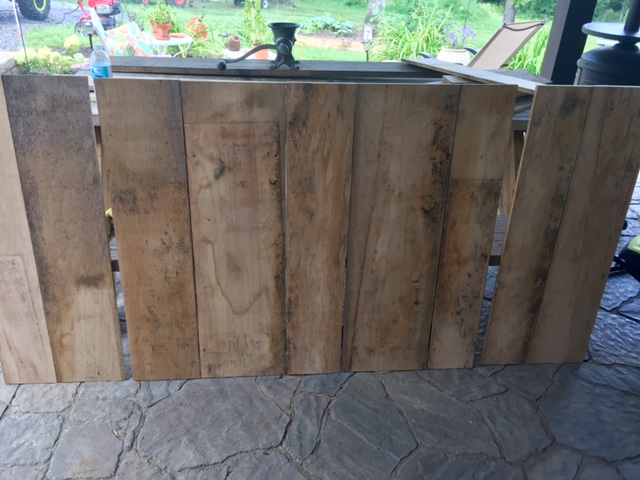
I used several pieces to go for a rustic/repurposed look that fits with my craft booth theme.
2 – 1″x3″ pine wood – (less than $2 for an 8′ stick at Lowe’s) – used for runner pieces on the back to hold everything together
Nail gun and nails
4 Hinges and screws
Plywood – 4′ 8″ x 2.5′ – I wanted this to hang over the sides about an inch and have a 1′ overhang in the front.
Scrap wood for shelves
Want to build your own craft business?
Be sure to grab your free copy of 195 Craft Ideas to Make and Sell.

Directions:
1. Cut your wood for the front and sides.
For the front, I used 5 different pieces all cut to 3′. (I measured my kitchen counter to see what height would be best.)
On the 2 sides, I used 2 pieces cut to 3′.
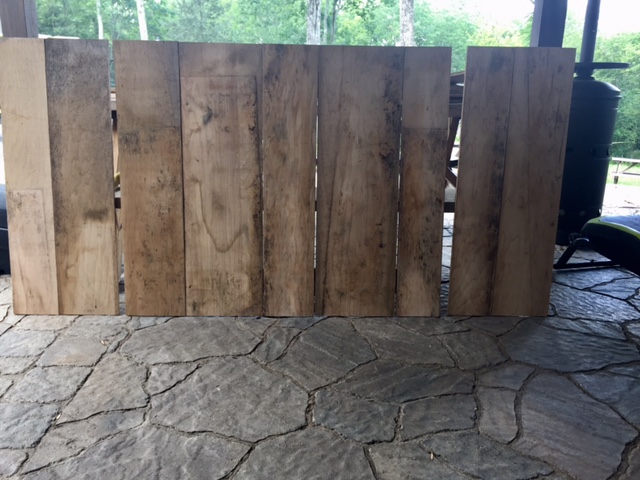
(The front boards can be whatever looks best to you, but the side pieces need to be identical.)
Cut the 1″x3″ wood 1″ shorter than your width. You will need 2 of these for the front, and 2 for each side. These pieces will act as a runner to hold the long pieces together.
2. Nail the front piece together and the side pieces together.
Square up all the boards for the front and lay your runner boards down and nail everything together with a nail gun.
Do the same for the 2 side pieces.
You should now have 3 total pieces that need to be put together.
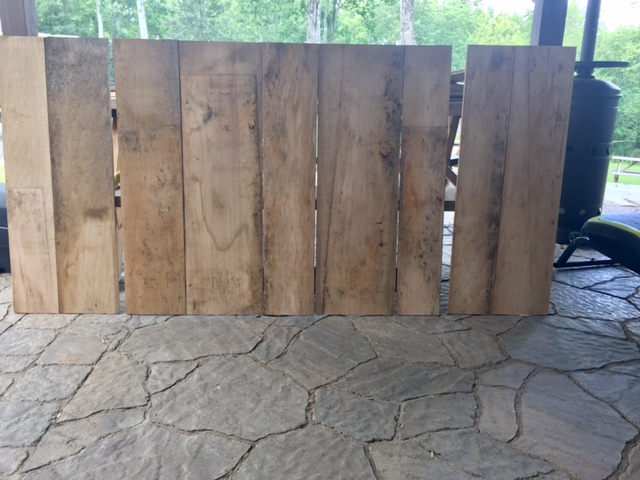
3. Attach the hinges and screw the pieces together.
Stand your frame up and make any adjustments as needed.
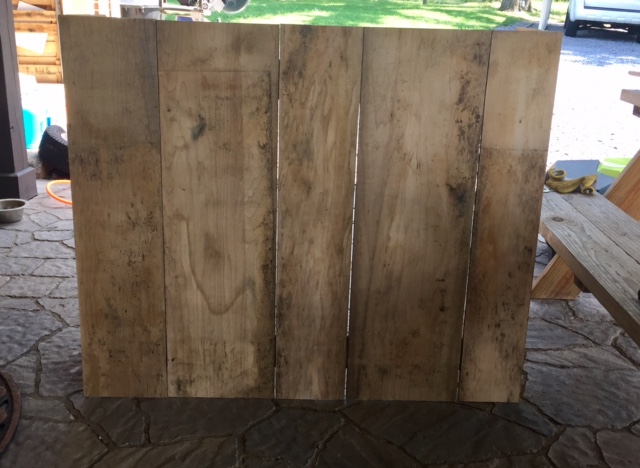

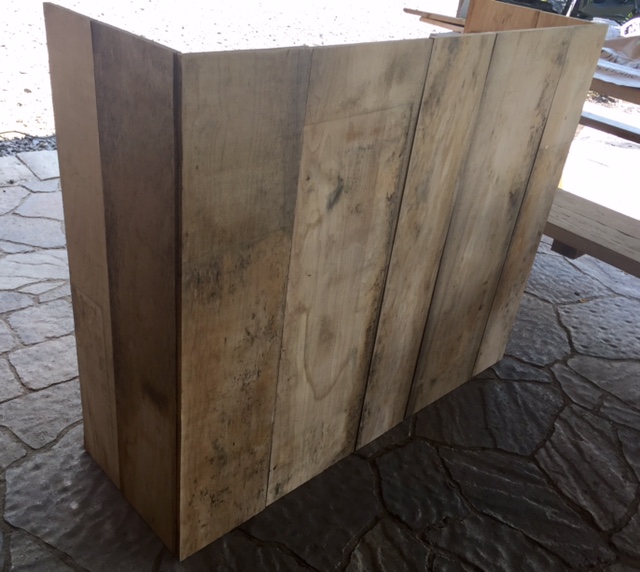
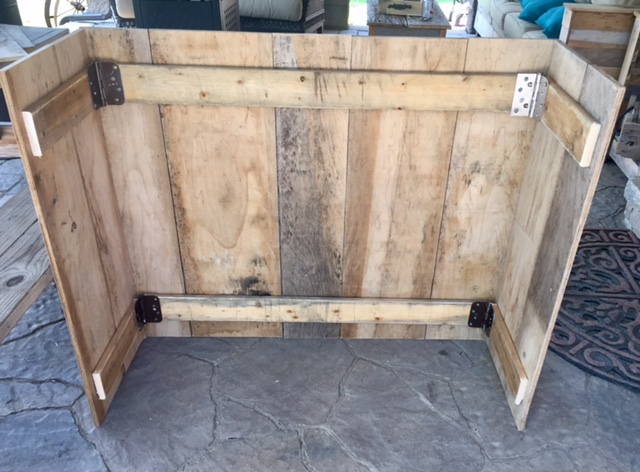
4. Cut the plywood piece for the top.
You will want your top to hang over about 1″ on both sides and if you prefer an overhang in the front, measure about 1′ longer than the depth of your frame.
Since this is a folding checkout stand, this piece will not be nailed onto the frame.
Once the plywood top is cut, you will want to situate the board on top of your frame.
I added some scrap 1″ wood around the edges to act as a frame and keep everything held together and not let anything slip out of place when it’s all set up.
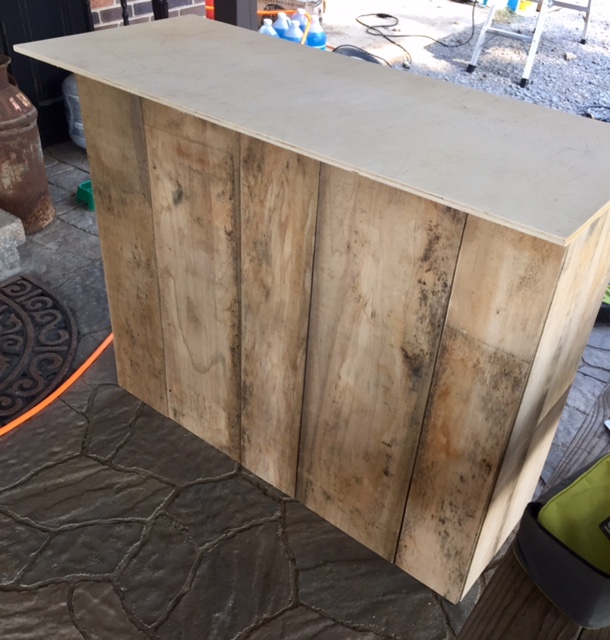
5. Cut your shelves.
Again, this checkout stand is a folding one, so these won’t be attached, but will be able to fold up into the checkout stand. Measure the length from one runner to the other for your shelves to sit on.
You may have to add additional runner pieces if you didn’t place your first ones where you wanted the shelves to go. (aka – me)
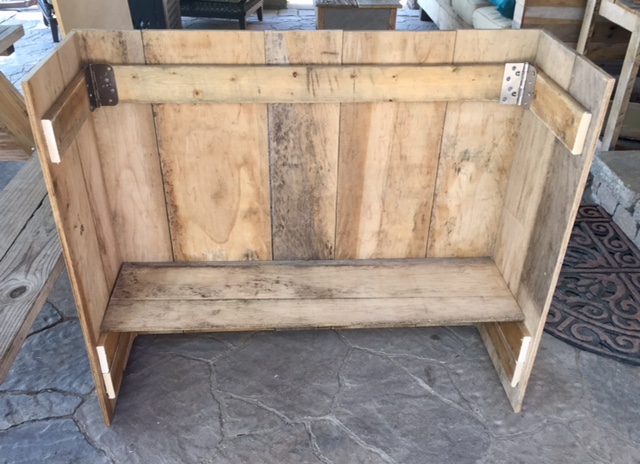

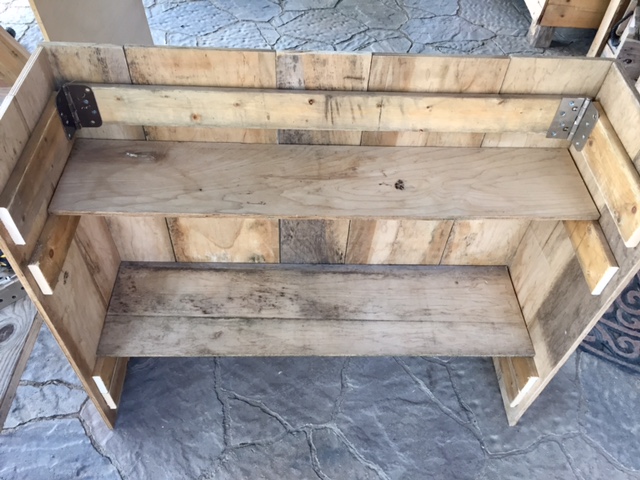
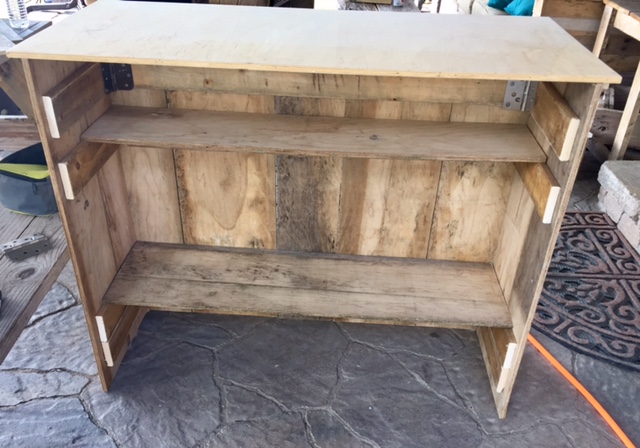
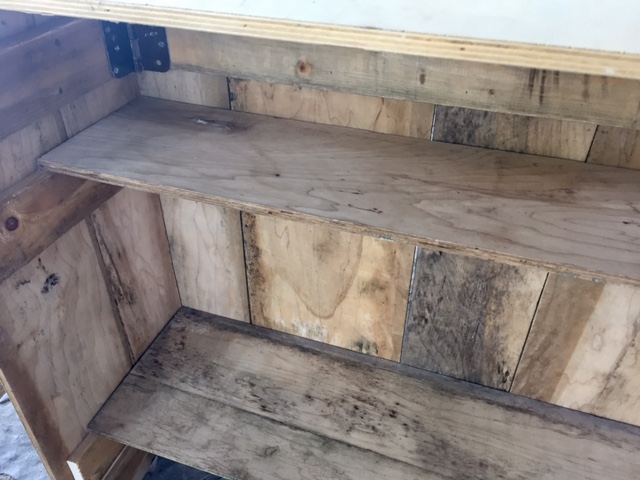
6. Assemble everything and adjust if needed.
Try folding everything up, and make sure it works properly. I was able to put the front side down, then place the shelves inside, and fold the sides down. The top is separate, but I may use a bungee cord when I am ready to travel with it.


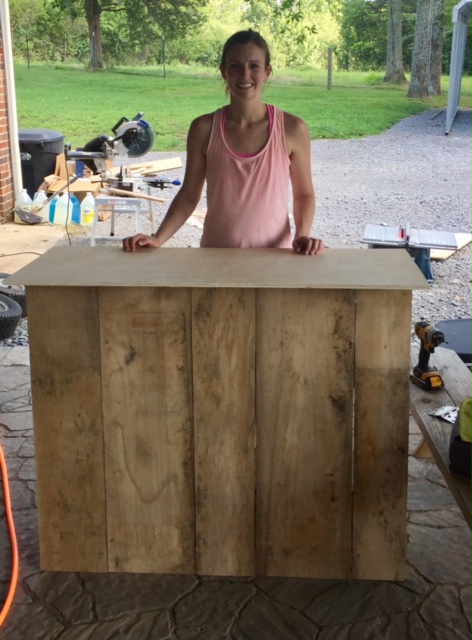
7. Stain to your preference or leave natural.
I was tempted to leave it natural, but ended up staining it Early American. That’s the stain I use for several of my craft items, so I love the cohesive look.
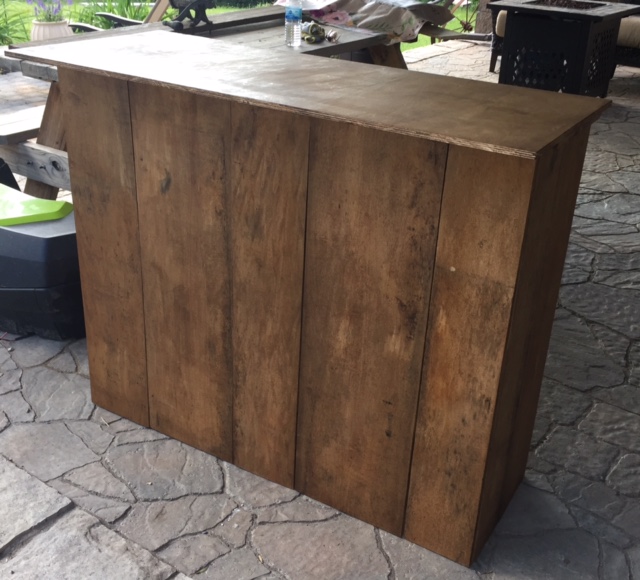
I love the way my folding craft fair checkout stand turned out! I’m so excited for our fall craft shows to start, so I can set this up and see how it works.
Related Post: Selling at Craft Fairs: Tips and Tricks from an Expert
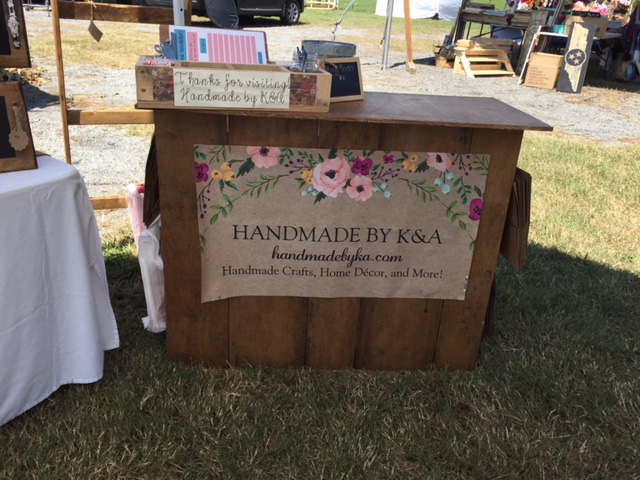
I plan to add our logo banner to the front with Velcro. We will be able to ring up purchases and package gifts on the counter. The shelves will be amazing for holding our cash box, tissue paper, and wrapping supplies. I think I may add some hooks to the sides to hold our shopping bags!
Download your free copy of 195 Craft Ideas to Make and Sell to find the perfect craft to sell.

I wanted the checkout stand to be sturdy enough to stand up, but also light enough to carry and travel with. And this is going to work perfectly.
Check out the update below after we used this at our first craft fair!
Craft Fair Booth Setup Tips
If you sell handmade items at craft fairs, a small checkout counter can make your vendor booth setup much easier. It keeps your cash box, bags, and supplies in one place so you’re not searching for things while customers are waiting. A simple folding checkout stand like this is also easy to transport and works well with many different craft fair booth display layouts.
Setting up a craft fair booth doesn’t have to be complicated. A few simple organization tips can make your booth easier to run and create a better experience for your customers.
Keep your checkout area easy to find. Place your checkout stand near the front or side of your booth so customers know where to pay.
Have bags and packaging ready. Hooks or a small basket on your stand make it easy to grab bags quickly.
Use a small cash box or payment tray. Keeping your payment supplies organized helps checkout go faster during busy times.
Display business cards or thank-you notes. A small holder on the counter is a great way to encourage repeat customers.
Leave space to wrap purchases. A flat counter surface gives you room to package items neatly for customers.
Match your booth style. Staining or painting your checkout stand to match your craft fair booth display helps your setup look polished and professional.
Want to learn more about starting a craft business?
Make some extra cash and enjoy being creative! Check out these awesome posts:
15 Steps to Start a Craft Business & Make Some Extra Cash
13 Ways to Improve Your Craft Business
Selling at Craft Fairs: Tips & Tricks from an Expert
Need some inspiration about what crafts to make and sell?
Check out these craft ideas!
115+ Craft Ideas to Make and Sell
15 Easy Wood Crafts to Make and Sell
The 70 Best Dollar Tree Craft Supplies
7 Popular Things to Make and Sell for Extra Cash

Update:
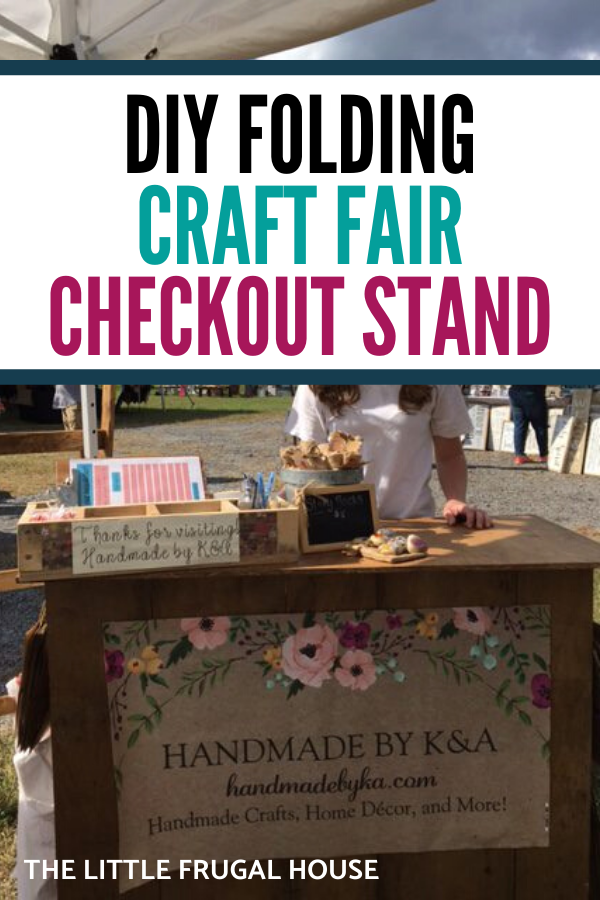
We LOVE our checkout stand! It has been so nice to tuck in the corner of our booth, keep all of our supplies organized, and gives us a great place to wrap packages!
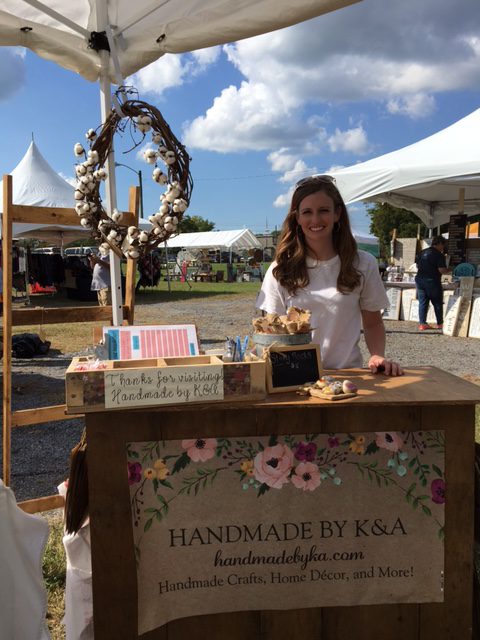
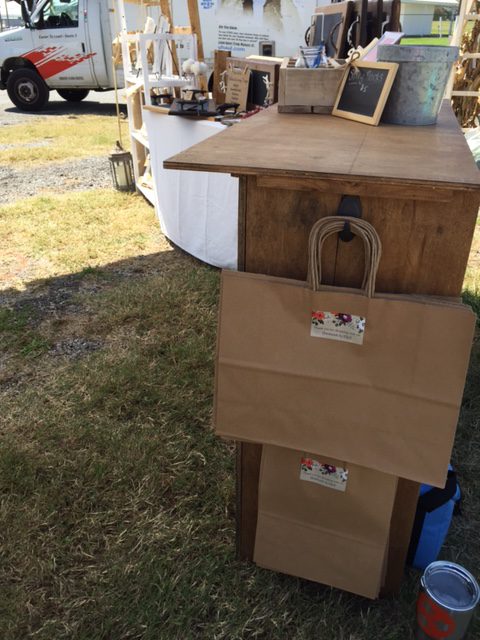
We also love this little “Thanks for visiting” box to hold pens, business cards, peppermints, and a newsletter sign up sheet!
Craft Fair Booth Ideas for a More Professional Setup
If you want your booth to stand out at craft fairs, a few simple display ideas can make a big difference. Creating a clean and organized layout helps customers browse comfortably and makes your handmade items look even more appealing.
Here are a few simple craft fair booth ideas that work well for many vendors:
- Use vertical displays. Shelves, crates, or small risers help you show more products without taking up extra table space.
- Keep your checkout area separate. A small checkout stand or counter helps create a clear place for payments and packaging.
- Use consistent colors or themes. Matching tablecloths, signs, and displays helps your booth look polished and professional.
- Add simple signage. Price signs, product labels, or a small brand sign help customers quickly understand what you’re selling.
- Leave space for customers to browse. Avoid overcrowding tables so people can comfortably look at your handmade items.
A simple folding checkout stand like the one in this tutorial can be a great addition to your craft fair booth setup, giving you a dedicated place to organize your supplies and ring up purchases.
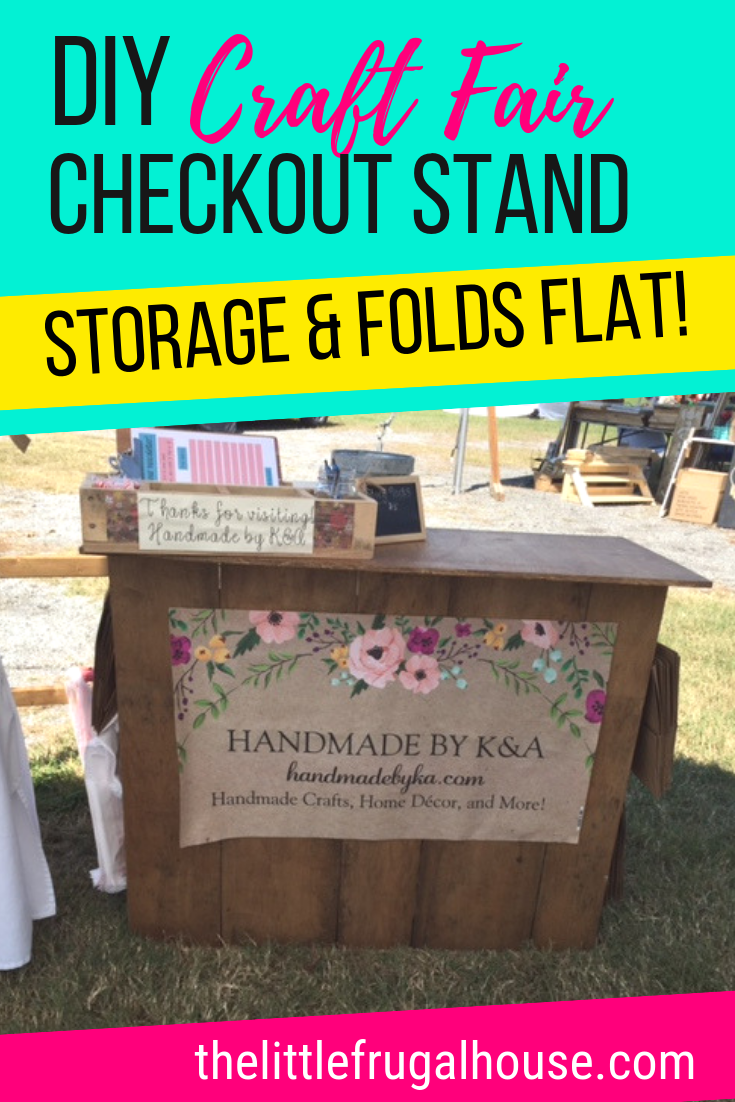
If you have a craft business, you may want to try making a folding checkout stand for yourself! It only took me an afternoon to complete and $0!!
You may also like:
If you love finding creative ways to make extra money from home, here are a few more helpful ideas:
- 45 Easy Crafts to Make and Sell for Beginners
- 7 Popular Things to Make and Sell for Extra Cash
- Easy Wood Crafts to Make and Sell
- 80 Unique DIY Crafts to Make and Sell
- DIY Craft Fair Checkout Counter That Folds Flat – Build Step-by-Step
- 15 Macrame Wall Hanging DIY Projects You’ll Love
- 15 Easy DIY Mesh Wreath Projects You’ll Love to Make
- Easy DIY Handmade Cards: How to Make Homemade Cards with the Cricut Joy
- $10 DIY Christmas Wooden Door Hanger
- DIY Scrap Wood Picture Frames
- DIY Christmas Ornaments: Rustic Tobacco Stick Ornaments
- 15 Steps to Start a Craft Business & Make Some Extra Cash
- DIY Wooden Coasters
You might also enjoy…
Sandie says
I’m so excited after seeing this my husband and I went off to Home Depot and well that like letting two kids loose in a candy store :).
This will be made this week for an upcoming show on February 9th. it will be nice to have a place to keep everything neat and tidy.
thelittlefrugalhouse says
So excited for you! You will love it!! 🙂 I’d love to see pictures when it’s done!
Wynona Correll says
I noticed your cute labels on the bags, where did you get those printed?
thelittlefrugalhouse says
Vistaprint! 🙂
Dawn says
I am so happy I came across this post. I made this using quarter inch Luan, and only made it to foot wide to fit in my space. I love it! The only adjustments I wish I would have made was the use of stronger hinges and cross pieces. Thank you so much for this post.
Jamie W Shambach says
What kind of hinges did you use? so that everything folds up?
thelittlefrugalhouse says
Just regular door hinges like these: https://amzn.to/2Lo7rx7 They should fold up nicely!
Ashley says
What size booth did you have to fit a checkout stand in? I have always to make a checkout station but never had room in my 10×10 booth with 2-tables (8ft & 6ft)
thelittlefrugalhouse says
We only use the checkout stand at outdoor shows when we have a 12×12 booth. I know it’s hard to fit everything in such a tiny space!
Jonell says
Thank you so very much for sharing your instructions with loads of pictures. I don’t need a checkout stand but I bet that I could come up with other uses. This is SUPER!!
Sarah says
I love your banner! Where did you have it printed?
thelittlefrugalhouse says
Vistaprint – they have sales and coupons often! 🙂
Christina says
This is so amazing!!! What is the size once it’s put together? Also are the top, and inner shelves just resting there? And do you have issue with them moving while you are working?
thelittlefrugalhouse says
I measured my counter height, so it’s about 3′ tall by 4′ wide. The top sits in place with little pieces of wood on the edges keeping it from sliding around. The shelves just rest in place. We keep our tissue, bags, and cash box on the shelves and it is so so handy! The hardest part is if you have an outside booth with unlevel ground. It may take a little wiggling to get the perfect level spot.
Maya says
Thanks Amanda! I’m going to try and whip this up for my first vendor event this Sunday! I hope it’s as easy as it looks! I’m sort of a little bit handy myself. : )
thelittlefrugalhouse says
Ah how fun! I hope it goes well! 🙂