• HOME
  • BLOG
  • ABOUT
  • CONTACT
  • Nav Social Menu

    • Facebook
    • Instagram
    • Pinterest
The Little Frugal House

The Little Frugal House

  • START HERE
  • MEALS
    • MEAL PLANNING
    • FREEZER COOKING
    • Grocery Savings
    • Quick, Easy & Cheap Meals
    • FREE 60+ DINNER IDEAS LIST
    • WEEKLY MEAL PLANNING BINDER
    • FRUGAL ONE MONTH MEAL PLAN
  • Money
    • Frugal Living Tips
    • Pay Off Debt
    • SIDE INCOME
    • Bills & Budgeting
  • DIY & HOME
    • Crafts
    • DIY Gifts
    • Frugal Gift Guides
    • Cricut Crafts
    • Gardening
    • Holidays & Parties
    • Decorating on a Budget
    • Furniture
  • KIDS
    • Coloring Pages
    • Crafts for Kids
    • Gifts for Kids
    • Favorite Books
  • HOLIDAYS
    • Valentine’s Day
    • St. Patrick’s Day
    • Easter
    • Mother’s Day
    • Father’s Day
    • 4th of July
    • Halloween
    • Thanksgiving
    • Christmas
    • New Years
  • FREE 5 DAY DINNER PLAN
  • MEAL PLANNING BINDER
  • 30 DAY MEAL PLAN

June 29, 2018 by thelittlefrugalhouse Leave a Comment

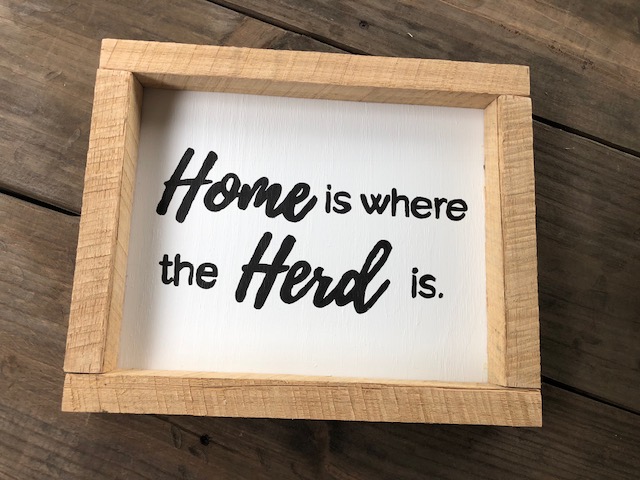
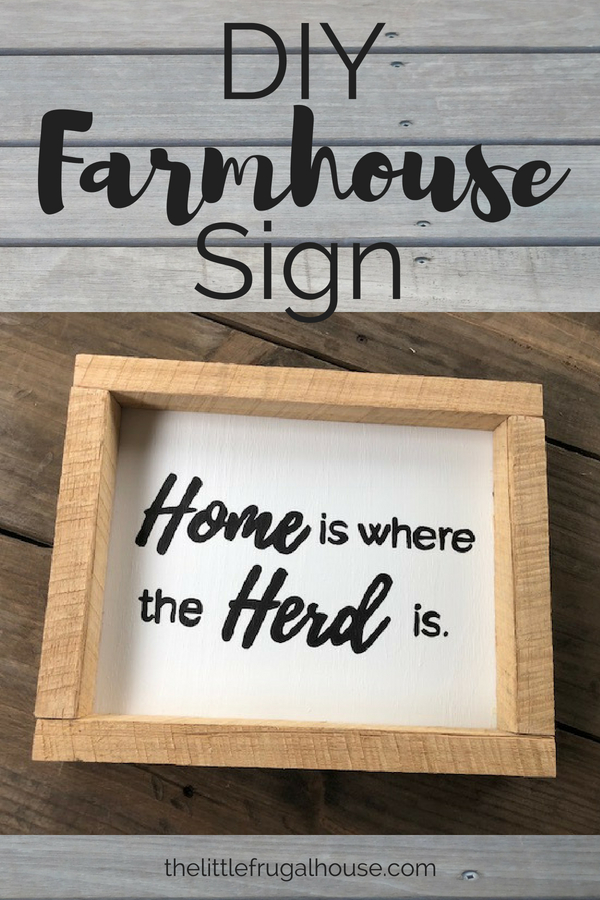
DIY Farmhouse Sign: Home is Where the Herd is

This post may contain affiliate links. If you click and make a purchase, I may receive a small commission, at no extra cost to you. I only recommend products and services I use and love. Thanks for supporting The Little Frugal House!

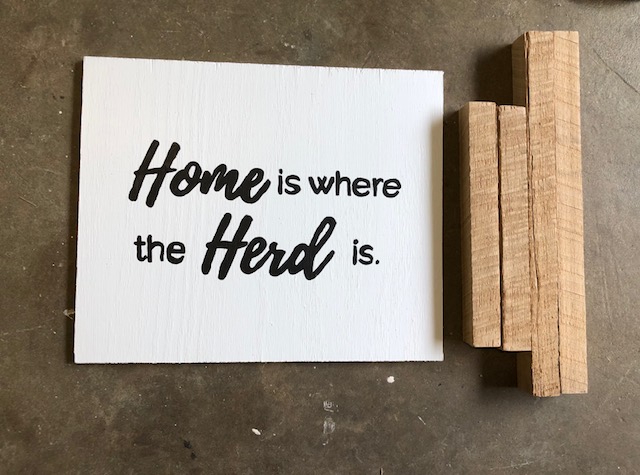
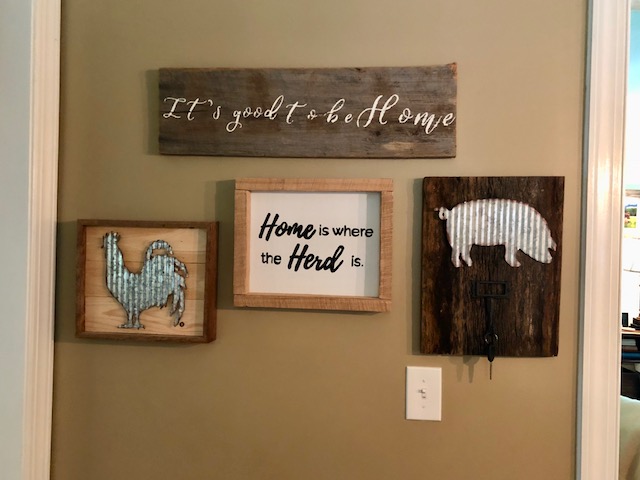
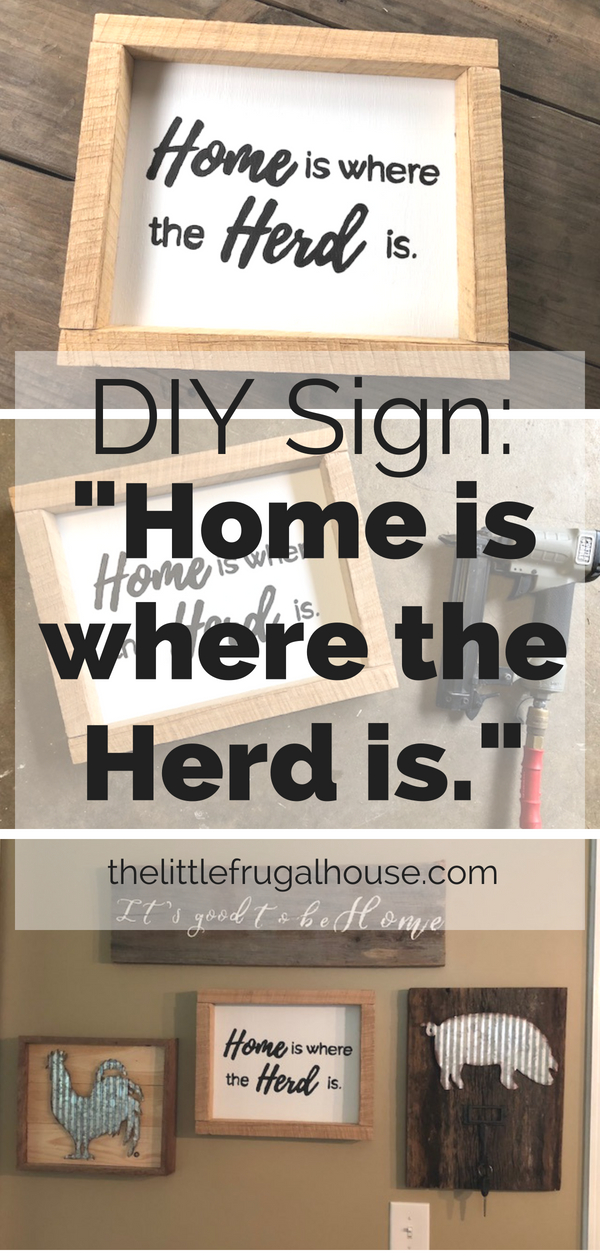
Since we started our mini farm, I have been wanting to make a sign that says, “Home is Where the Herd Is”.  Well, the time has come, and it turned out so great! I’d love to show you how I made my sign and how you can make your own DIY farmhouse sign!

DIY Farmhouse Sign: Home is Where the Herd is
Materials Needed:

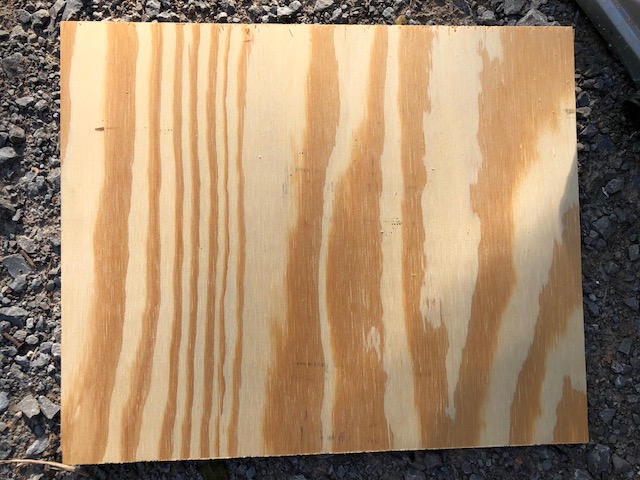
Small piece of plywood (I used a 14″x16″ piece)
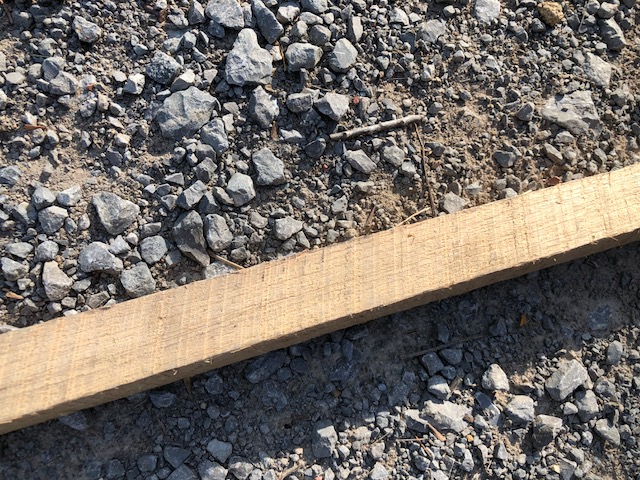
6′ – 2″x2″ (or 1″x1″) wood for the frame – I had some scrap oak wood I wanted to use
White paint

Black paint

Small paintbrush

Cricut machine

Cricut mat

Vinyl

This image (for your stencil)

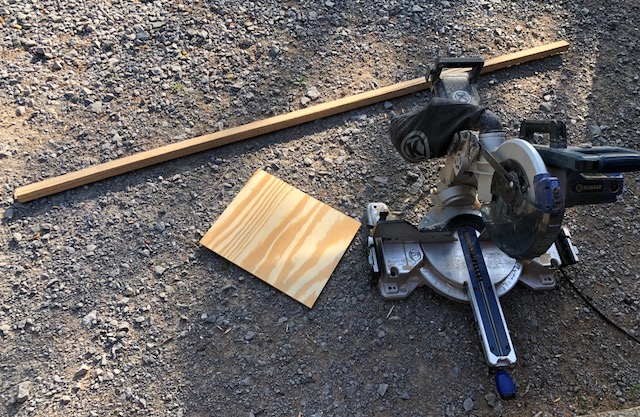
Miter saw (or saw to cut straight wood)

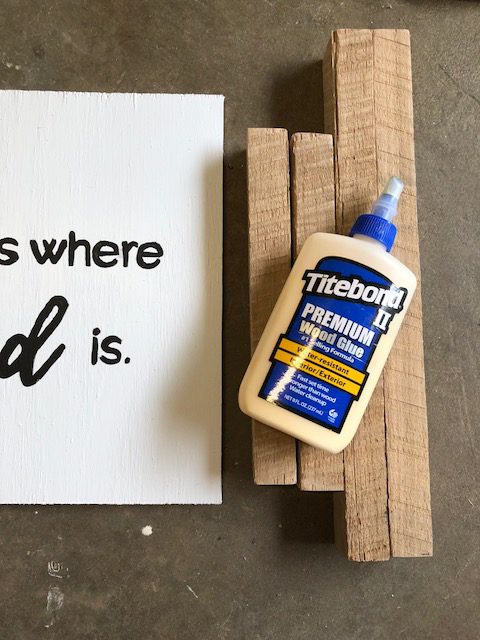
Wood glue

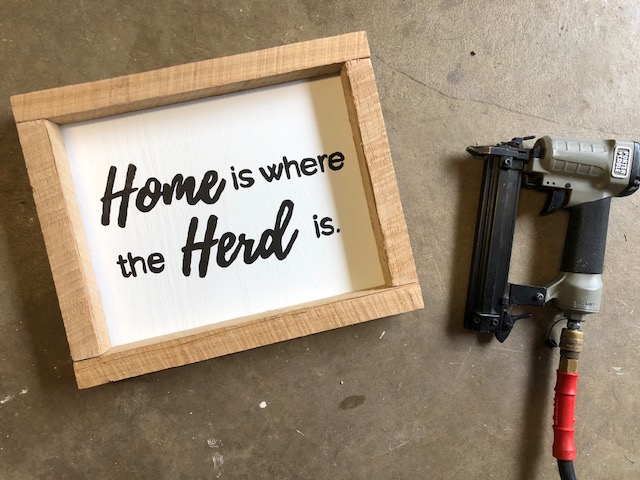
Nail gun and nails (size will depend on the wood you choose for the frame
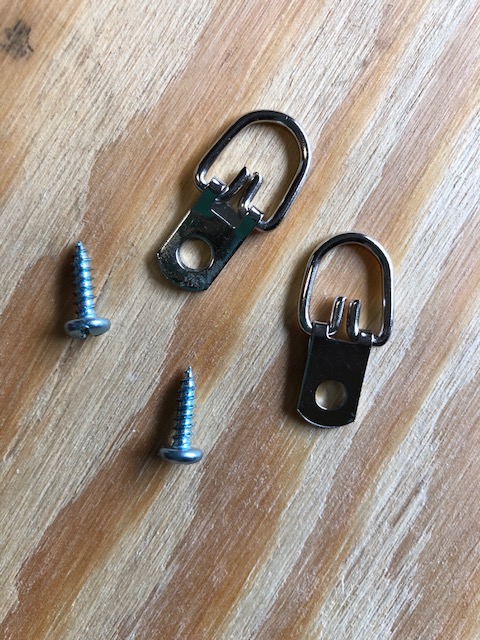
Picture hangers and screws

Directions:

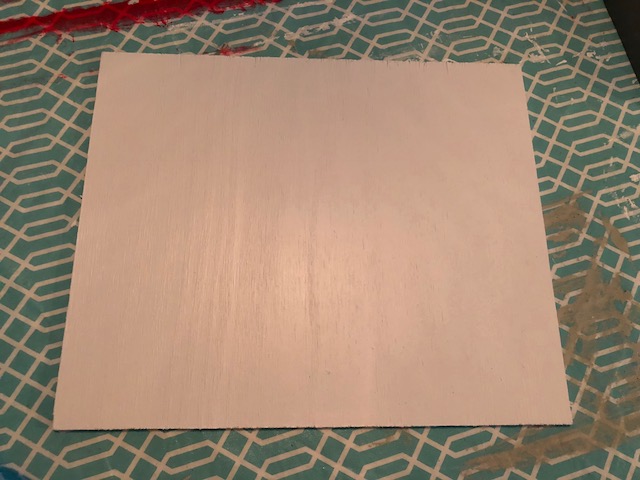
  1. Paint your plywood white.

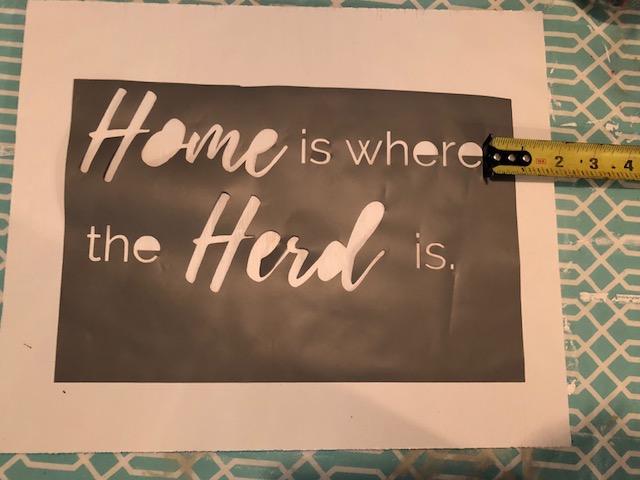
  2. Make your vinyl stencil.

    If you are familiar with making a vinyl stencil from a saved image, so ahead and use this image. If not, see the detailed instructions below for step by step instructions and pictures.

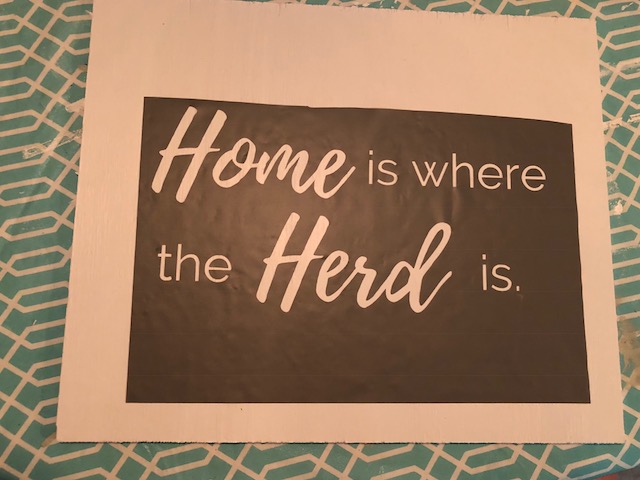
    Once your vinyl is printed, remove the excess vinyl and place on the canvas where you would like the writing. 

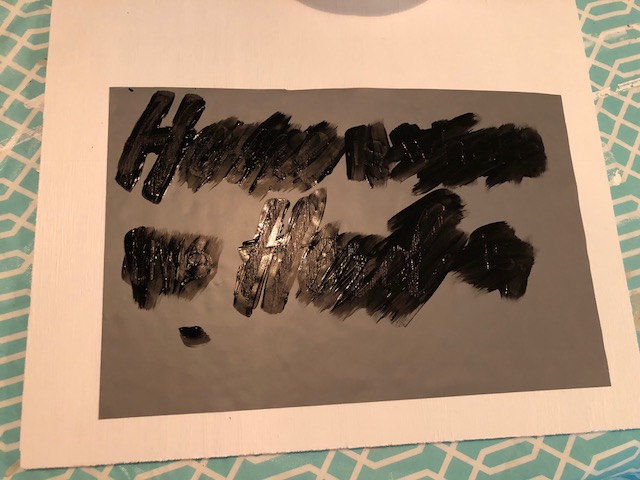
  3. Paint the stencil in.

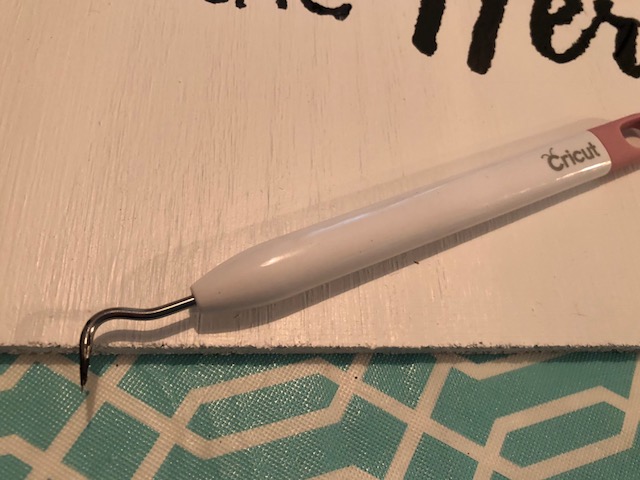
    Using black paint and a small paintbrush, paint the stencil in. Be careful not to apply the paint too thick as it might run. Remove the stencil when done. I love my Cricut weeder tool to remove the small pieces of vinyl. 

  4. Cut your frame.

    Place your square wood along the border of one side of the plywood. Measure and cut 2 pieces at this length. Now, measure the distance between those for your other 2 sides. Cut 2 at that distance. Sand and stain if needed. 

  5. Nail your frame together.

    Use wood glue to secure your square wood pieces together. Nail the frame together and to the plywood  piece. 

  6. Add picture hangers and screws to the back.

    I love using these easy D-ring picture hangers.

  7. Let dry and hang.

    Do you love it?! I hope so!
Don’t have the tools or time?

Cheat Tip:

If you are lacking these tools or the time to make a canvas and wood sign, you can just print this image and place it in a pretty frame like this one.


Step by Step Instructions to make a Vinyl Stencil:

  1. Save this image.
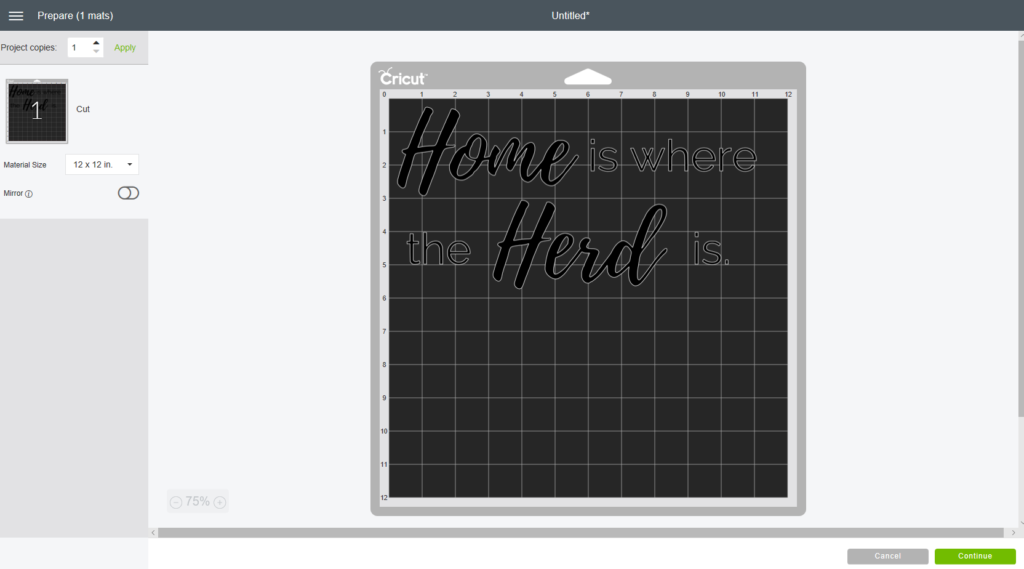
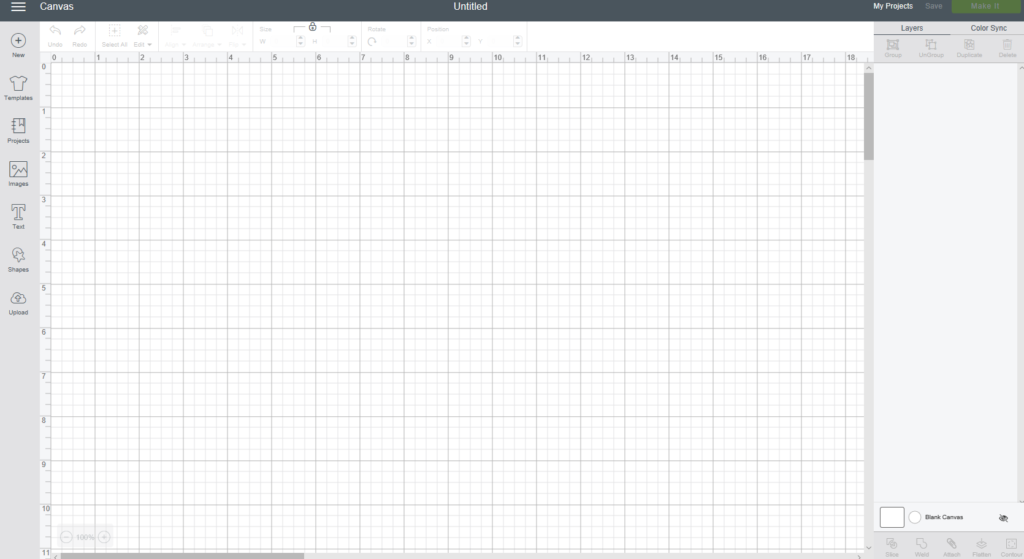
  2. Open Cricut Design Space.
  3. Click New Project.
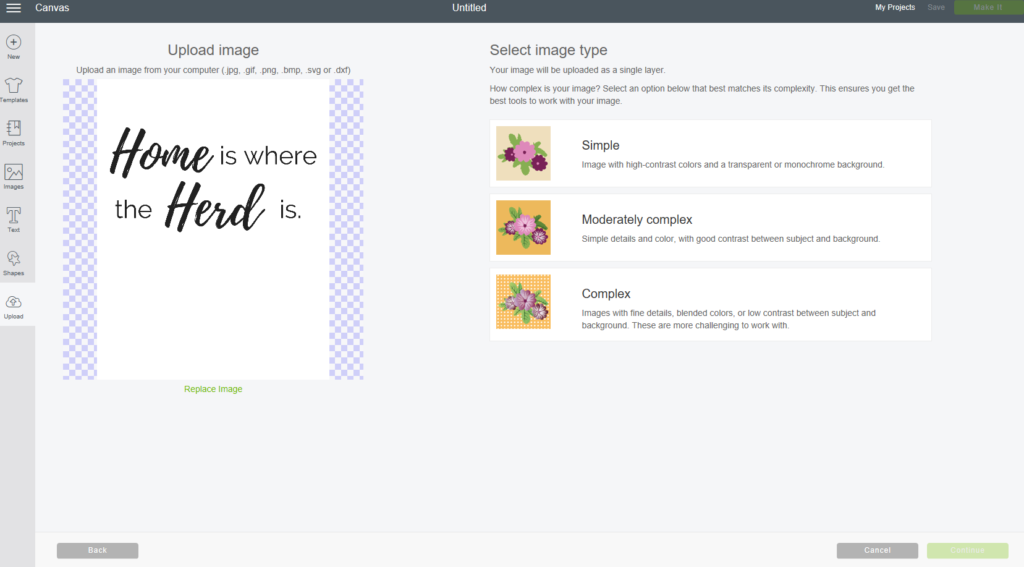
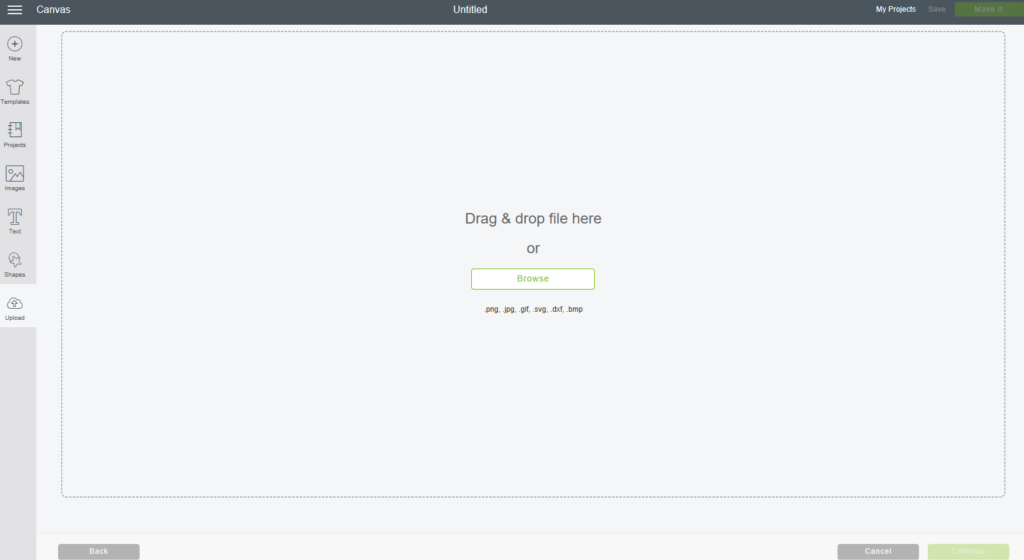
  4. Select Upload Image.
  5. Browse and find the image you saved.
  6. Click Simple and Continue.
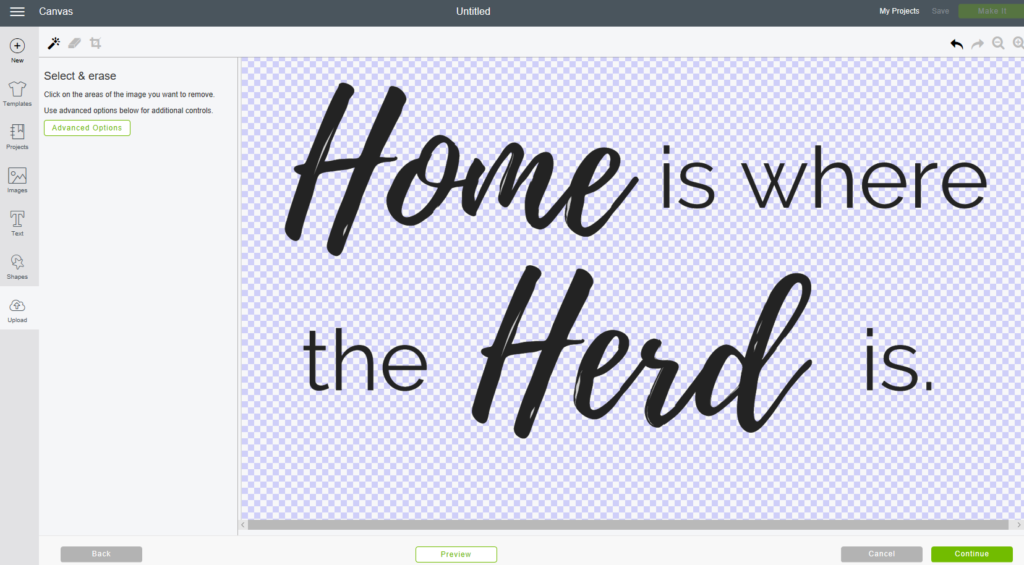
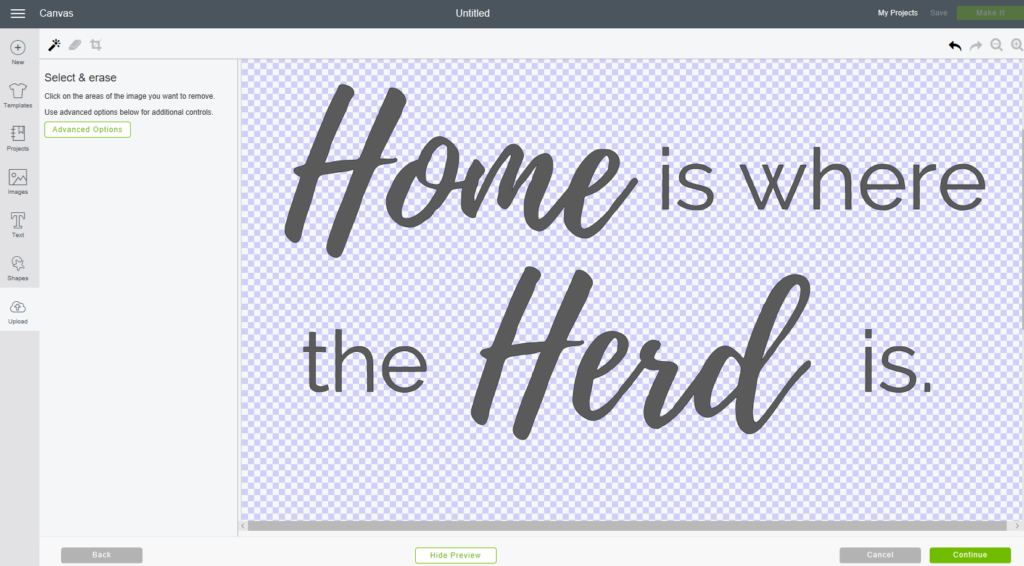
  7. Use your mouse to select the areas that you want removed from your image (like inside e’s and o’s).
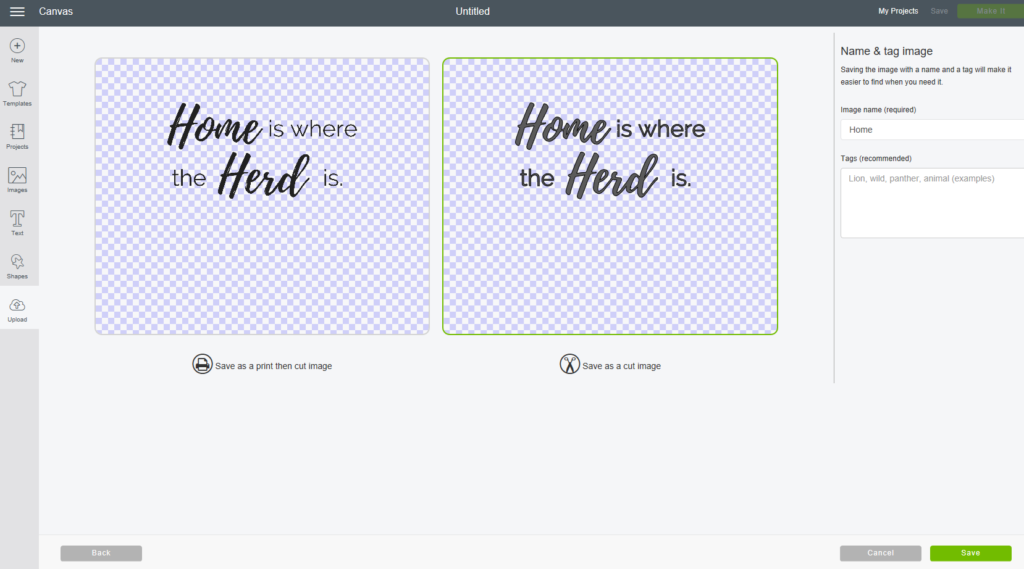
  8. Preview to make sure everything looks correct. Click Continue.
  9. Save as a Cut Image.
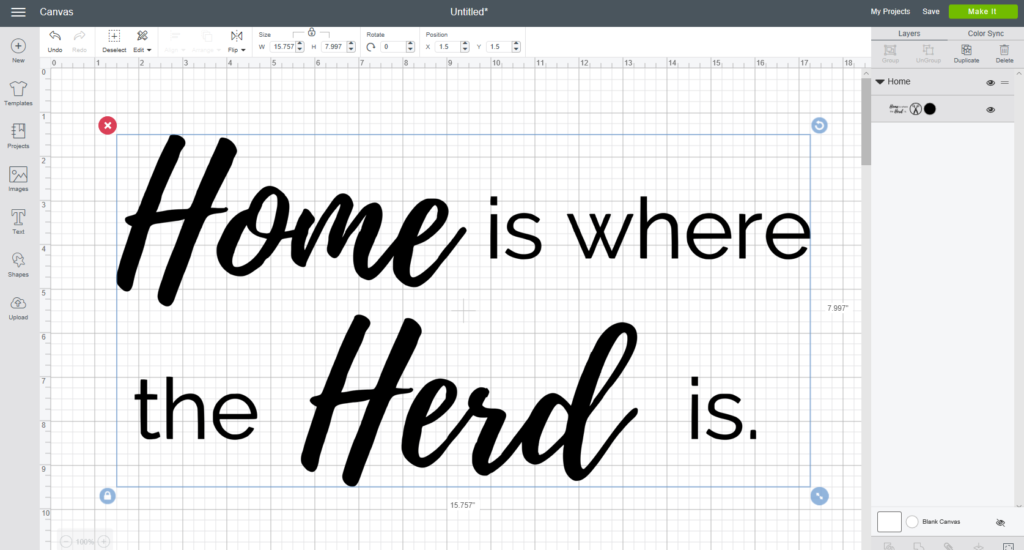
  10. Insert the image into your project.
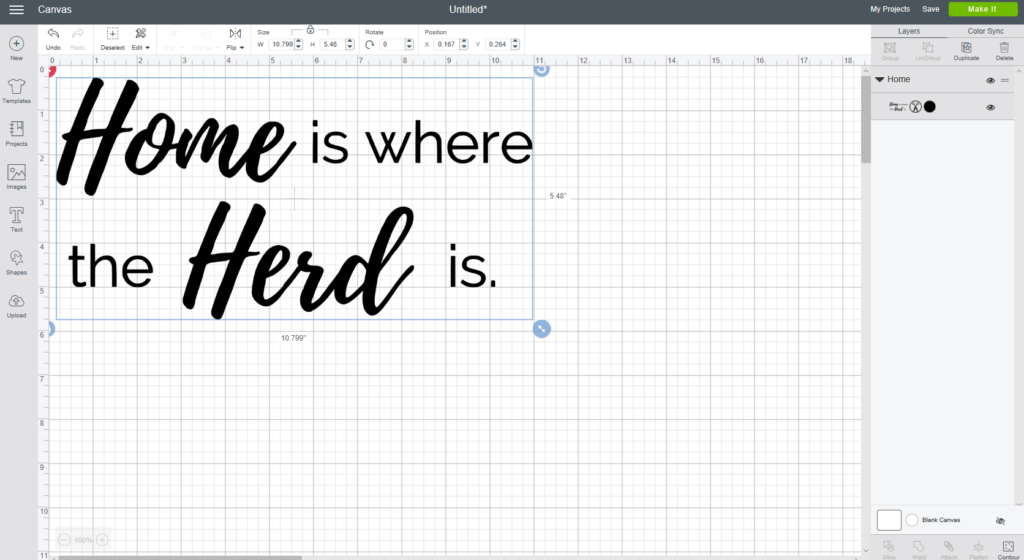
  11. Resize the image. I made mine about 6″x11″.
  12. Make sure the image is set on cut. In the right column, you should see scissors. Click Make it.
  13. On the next screen, just select Continue.
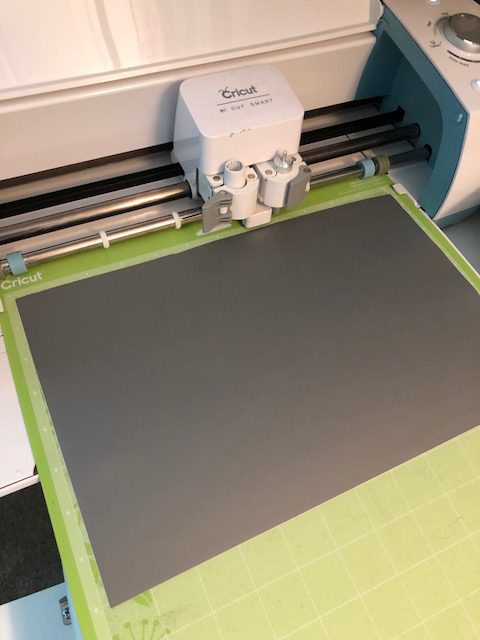
  14. Turn your Cricut machine on and set it to vinyl.
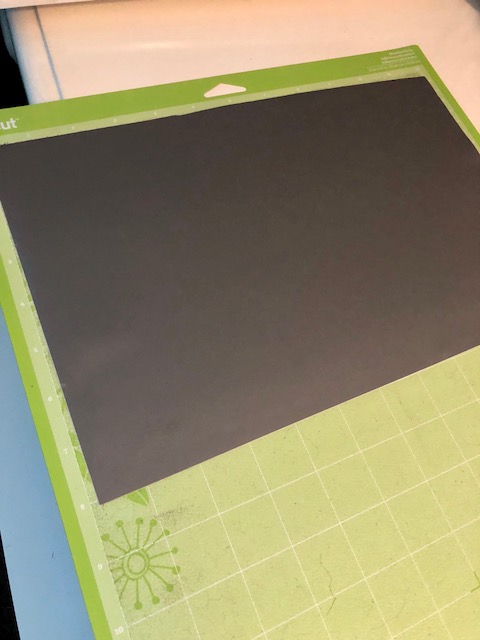
  15. Place a sheet of vinyl on your Cricut mat. (Use a color or scrap piece that you don’t love since it’s just a stencil.)
  16. Load the mat and hit the Go button on your machine.
  17. Once the stencil is done, remove the vinyl from the mat and remove all excess vinyl from around the wording.
  18. When you are ready to place your vinyl on your canvas, carefully remove the backing and place flat down on the canvas fabric.
 

I’d love to see your finished product! Let me know what you thought in the comments!
You might also enjoy…
DIY Cricut Beginner Project - Monogram Drink Bucket thelittlefrugalhouse.com

A simple DIY Anniversary Gift idea using a Cricut machine and vinyl, wood, paint, and a photo! Completely customizable and such a sweet gift idea!

Previous Post: « 4th of July Patio Decor
Next Post: Easy Ice Cream Sandwich Dessert »

Reader Interactions

Leave a Reply Cancel reply

Your email address will not be published. Required fields are marked *

Primary Sidebar

Hi there! I’m Amanda!

Welcome to The Little Frugal House! I'm Amanda and I love my simple, frugal lifestyle and sharing tips and ideas with you! Read More!

Looking for something?

Recent Posts

  • What Is Selling on Etsy? 35 Best Things to Sell for Profit
  • 35 Easy Breakfast Ideas for Busy Mornings
  • Happy Thanksgiving Coloring Pages for Kids – Free Printable Pack
  • 15 Fun Coworker Gift Ideas Under $20 (They’ll Actually Love!)
  • The 30 Best Fall & Autumn Books for Toddlers and Preschoolers
Weekly Meal Planning Binder
Need new breakfast ideas for busy mornings? This list of 35 easy breakfast ideas includes quick grab-and-go breakfasts, healthier store-bought options, make-ahead and freezer-friendly recipes, plus cozy Southern-style family breakfasts. Perfect for meal prep, school mornings, weekends, and easy family meals.
Learn how to save money on groceries with cheap cuts of meat, plus the best ways to cook them for easy, budget-friendly family meals.
Need an easy kid friendly meal plan for your family? This simple 7-day meal plan is full of kid-friendly meals, easy weeknight dinners, school lunch ideas, snacks, and a simple shopping list to make meal planning easier. Perfect for busy families, picky eaters, and anyone who wants simple meals the whole family will actually eat!
Looking for the best cube steak crock pot recipes for an easy dinner at home? Here are 10 slow cooker recipes your whole family will love!
Looking for the best creative Mother's Day gift ideas for your Mom or Grandma? Here are 10 super cute and creative Mother's Day gifts all from Etsy!
Looking for easy Mother’s Day crafts for toddlers? These simple, cute ideas include handprint keepsakes, cards, and gifts kids can make with just a few supplies.
Mother's Day gift ideas all under $30 perfect for mom, mother in laws, daughters, sisters, friends, Grandma, and new Moms.

Privacy Policy

Footer

  • Facebook
  • Instagram
  • Pinterest
  • Privacy Policy
  • Disclosure

Copyright © 2026 · beloved theme by Restored 316