This post may contain affiliate links. If you click and make a purchase, I may receive a small commission, at no extra cost to you. I only recommend products and services I use and love. Thanks for supporting The Little Frugal House!
Do you have an old drawer you don’t know what to do with?
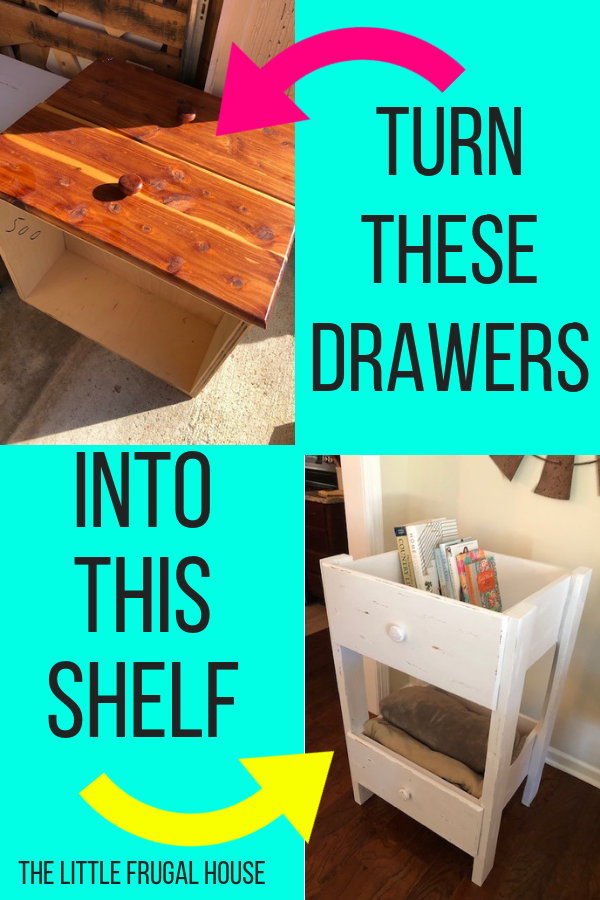
I made this cabinet shelf out of two drawers I had, but I still had this one I wasn’t sure what to do with.
After searching Pinterest, I had the idea to make a cute hanging shelf with the remaining drawer. I think it turned out so cute!
I’ll show you how I turned this random old drawer into this cute hanging shelf!
DIY Repurposed Drawer into Cute Hanging Shelf

Materials Needed:
Drawer


Paint
Scrapbook paper or fabric

Paintbrushes
1″ X 3″ wood (for the back so it sits flush against the wall)
Plywood (small piece to make shelf)
Tape Measure
Scissors
Screws

Directions:
- Cut a shelf (if desired). Measure the width and length it needs to be and test it to fit.

- Measure and cut the 1″ X 3″ for the back. (This needs to go at the top and bottom so the drawer hangs level and sits flush. Attach to the shelf.
- Paint the drawer and shelf. (I used a light grey I had leftover)
- Measure and cut your scrapbook paper or fabric.
- Apply to back of drawer with Mod Podge and paintbrush.
- Attach shelf to drawer with screws.
- Add hangers to back.
- Hang up and decorate!


This DIY repurposed drawer makes such a cute hanging shelf for a bathroom, bedroom, kitchen, or office. 
Have fun with this one by using fun color paints and background patterns!
You might also enjoy…